
So I have talked a lot about all of the stuff that people give us, and I have shed a somewhat negative light on it. It is not that I don't appreciate the fact that our friends, family and sometimes strangers love us and want to give us things, it is just that those things do not always fit my style. Most of the time the things that are given to us are given with the saying "you should take this, were just going to throw it away or donate it". There is a big difference in someone giving us a couch with a big hole in the arm and getting a treasured family heirloom. Enter the piano!

This piano was in my Grandmothers formal living room my whole life. I don't know a lot of the history, but I do know it belonged to my Great Great Grandmother Virginia who I was named after. I think my Grandmother said she hoped that someone would take lessons and so it was passed down through the family. I played with this piano (very poorly, I have never had lessons) every time I went to my grandmothers house. It is painted all of the fabulous colors of the 1960's as was the rest of her formal living room. I colored on this piano with sharpie marker when I was a small child.
When my grandmother passed away in 2002 I was given the piano for my children. There was no room for the piano in my house so it has sat in my Mother in Law's garage ever since. Throughout the years I have asked hubby if we could go get it and always got the same response. We don't have anywhere to put it. Recently my in laws started cleaning out their garage and asked me again if I could get the piano to make more room in their garage. Finally I was able to bring my Grandmother's piano home!
I have such amazing plans for this beauty, however it is going to be a lot of work.

The piano has 4 layers of paint and stain that have to be sanded off.

When the kids saw that there were some marks on the keys, they thought it would be ok for them to color on the piano with sharpie also!

At least these marks were on the keys too!

In the move one of the legs broke and the wheel came off. This is very disappointing. I hope it will be able to be fixed. As I was looking at the leg I don't think it can be replaced easily so I am hoping to strong wood glue will put this back on.

The handles were bent and broken and outdated. I will replace them with shiny new updated ones.
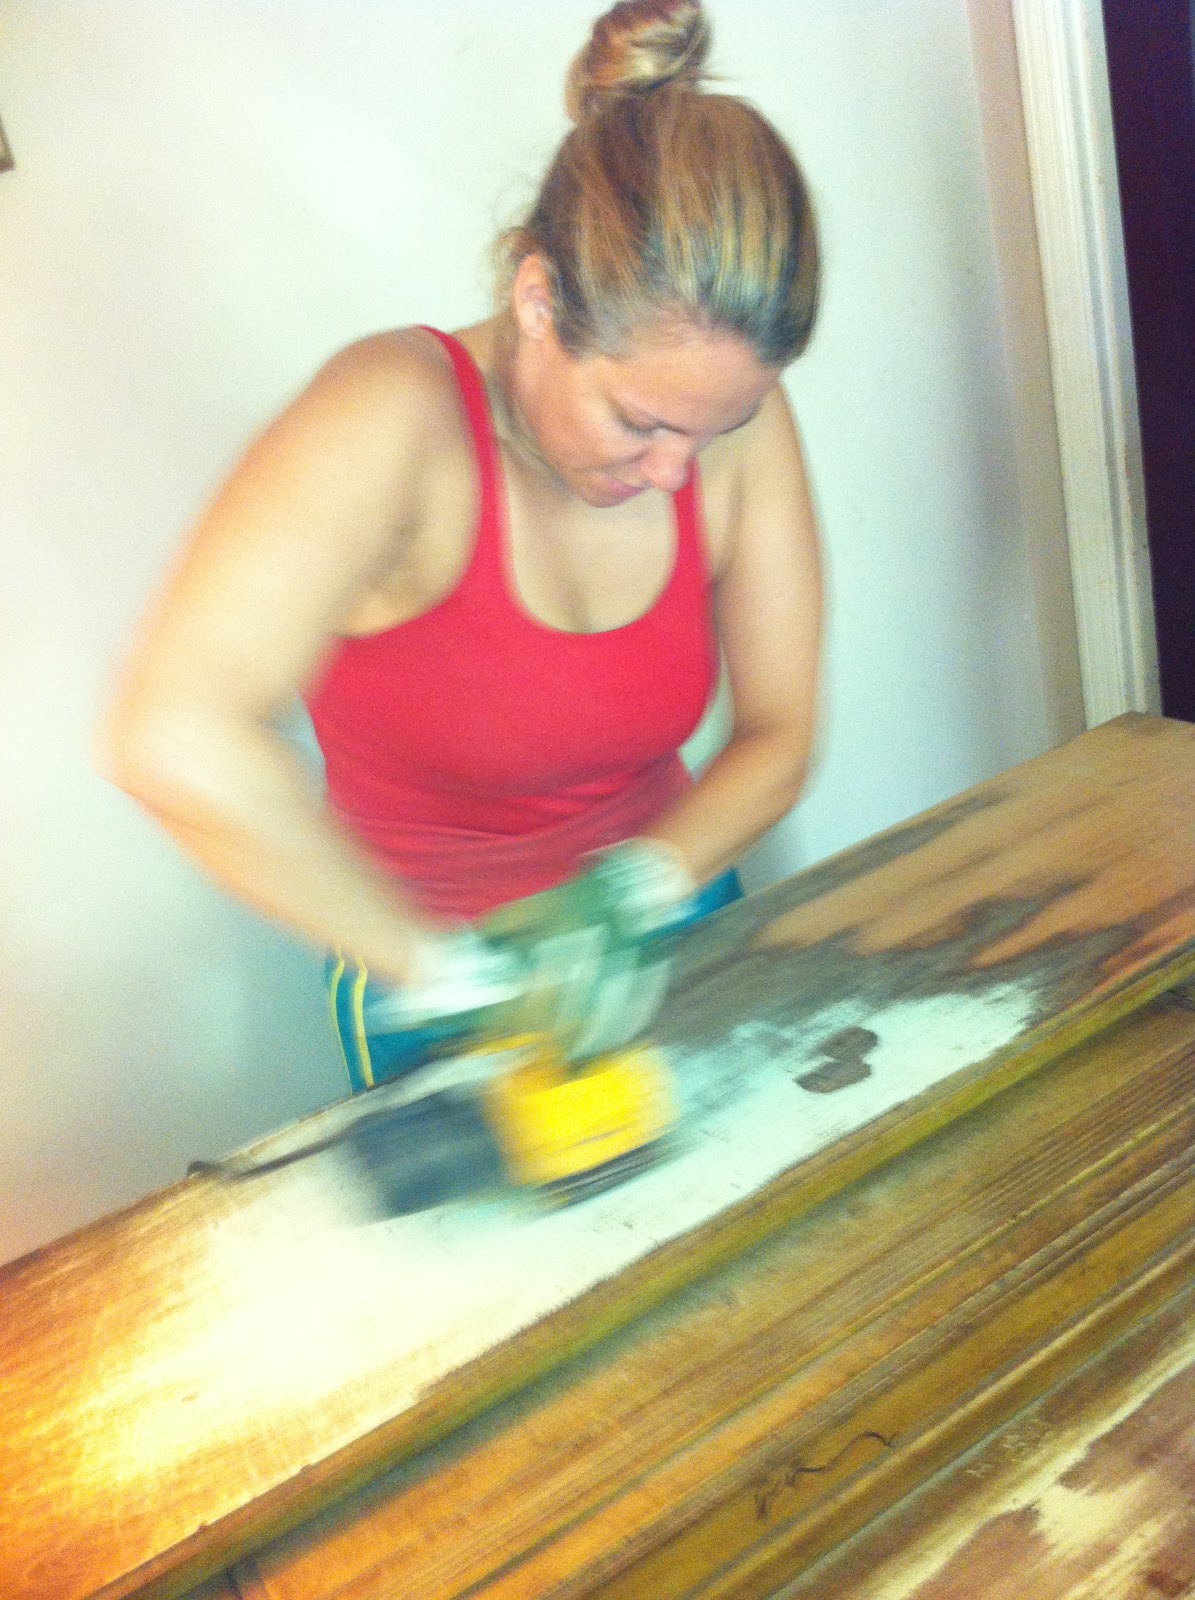
I used a palm sander and #40 sandpaper to take off all 4 layers of stuff at the same time. This picture was taken at the very beginning of the project. About 10 minutes later, my lungs and eyes were aching so I decided that safety was important! It also helped that the hubby reminded me that this thing is probably coated in lead paint since it was painted in the 60's.

Notice that I am working on this in the Living Room. Piano's are pretty darn heavy so we just left it where it was to work on it. This turned into a huge fiasco. The entire house was coated in dust and paint flecks. I would recommend covering EVERYTHING you can with plastic and closing the room off from everywhere else in the house.

This is where the piano has been mostly sanded off. Here all that is left is using the dremel to get into the grooves and try to get what is left.

A front view. I got the rest off of the bottom as well.

I have used fingernail polish remover to remove sharpie from all different surfaces, so I thought I would give it a try on the piano keys. To my surprise it came right off. Of course that made it even more noticeable how dingy and yellow the piano keys were. I tried bleach, cleaner with bleach and rubbing alcohol all to no avail so I went back to work with the fingernail polish remover.
DISCLAIMER: I have no idea if this is safe for the keys. My alternate choice was to replace them so I decided to give it a try. I don't want to be responsible for you messing up a piano.

I ran out of fingernail polish remover with only 3 keys left. I was amazed at the difference in them before and after! Before this I was sure I was going to have to have them all replaced.

I got some new pulls from Target. I paid $10 for a set of 4. They did not have smaller packs than that, but after I bought them I decided that maybe I can use them somewhere else in the living room to pull everything together.
I decided to paint the piano black. Not only is this a nice neutral color that can go with anything (including the new color scheme of my living room), I think it will bring to mind a baby grand piano. We went to Sherman Williams to get the paint and since the hubs used to paint for a living I left all of the decisions other than color to him. He went with an oil based paint that was already colored black. It is supposed to have a high shine that will look really nice.
Before we could paint we had to go over the whole thing again with a finer sand paper. This time we learned from all of the mistakes I had made the first time. We put up a barrier between the piano and the rest of the house to keep the dust localized to one area and I got some help from my better half (at least he is better with power tools...for now!) Here is a picture of our makeshift partition with his head poking out!

It was actually kind of cool! I felt like I was in a fort. We decided it was a good thing the kids were not home or we would have not been able to get in their "fort" to work! Imagine a fort with a piano hehe! Here is the partition from the inside. Notice since I had to bring up the top to sand some portions I covered the inside of the piano with towels to keep the dust out. This is an important step I would not skip. The sawdust really will get EVERYWHERE!

Once we got a little more sanded we put half of the first coat of paint on. This paint is oil based and very difficult to get off of skin, hair etc. so when we got to the point that is was hard to get in places without touching other places with wet paint we took a paint drying break. I did notice it was not super glossy like hubs was talking about, but he assured me when we were done it would be. Apparently the first coat soaks into the wood.

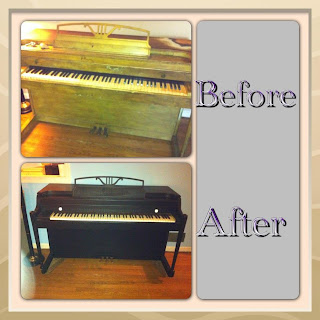
We finally finished this project and I am so happy with the results! Here is the final after picture.


Before we could paint we had to go over the whole thing again with a finer sand paper. This time we learned from all of the mistakes I had made the first time. We put up a barrier between the piano and the rest of the house to keep the dust localized to one area and I got some help from my better half (at least he is better with power tools...for now!) Here is a picture of our makeshift partition with his head poking out!

It was actually kind of cool! I felt like I was in a fort. We decided it was a good thing the kids were not home or we would have not been able to get in their "fort" to work! Imagine a fort with a piano hehe! Here is the partition from the inside. Notice since I had to bring up the top to sand some portions I covered the inside of the piano with towels to keep the dust out. This is an important step I would not skip. The sawdust really will get EVERYWHERE!

Once we got a little more sanded we put half of the first coat of paint on. This paint is oil based and very difficult to get off of skin, hair etc. so when we got to the point that is was hard to get in places without touching other places with wet paint we took a paint drying break. I did notice it was not super glossy like hubs was talking about, but he assured me when we were done it would be. Apparently the first coat soaks into the wood.


Here is a quick before and after shot!

Love,
Mary Gina Carr


Already looks so different!!
ReplyDelete